Thursday, November 11, 2021

Classic Thanksgiving Chestnut and Sausage Stuffing Recipe


Old Fashioned Thanksgiving Stuffing ๐Ÿฆƒ 


This simple yet oh so yummy stuffing recipe will be the highlight of your Thanksgiving dinner.


Here’s everything you will need to make this family favorite stuffing!


Ingredients:

2 bags Pepperidge Farm Herb Seasoned Cubed Stuffing.


3 lb bag of yellow onions.


2 tubes of Jones All natural original pork sausage.


2 bags of  Galil chestnuts (or any brand you prefer or of course you can roast your own)


1 lb of salted butter


10 cups of College Inn chicken broth (or any brand you like or of course homemade chicken stock)


First empty both bags of cubed stuffing into a large mixing bowl.


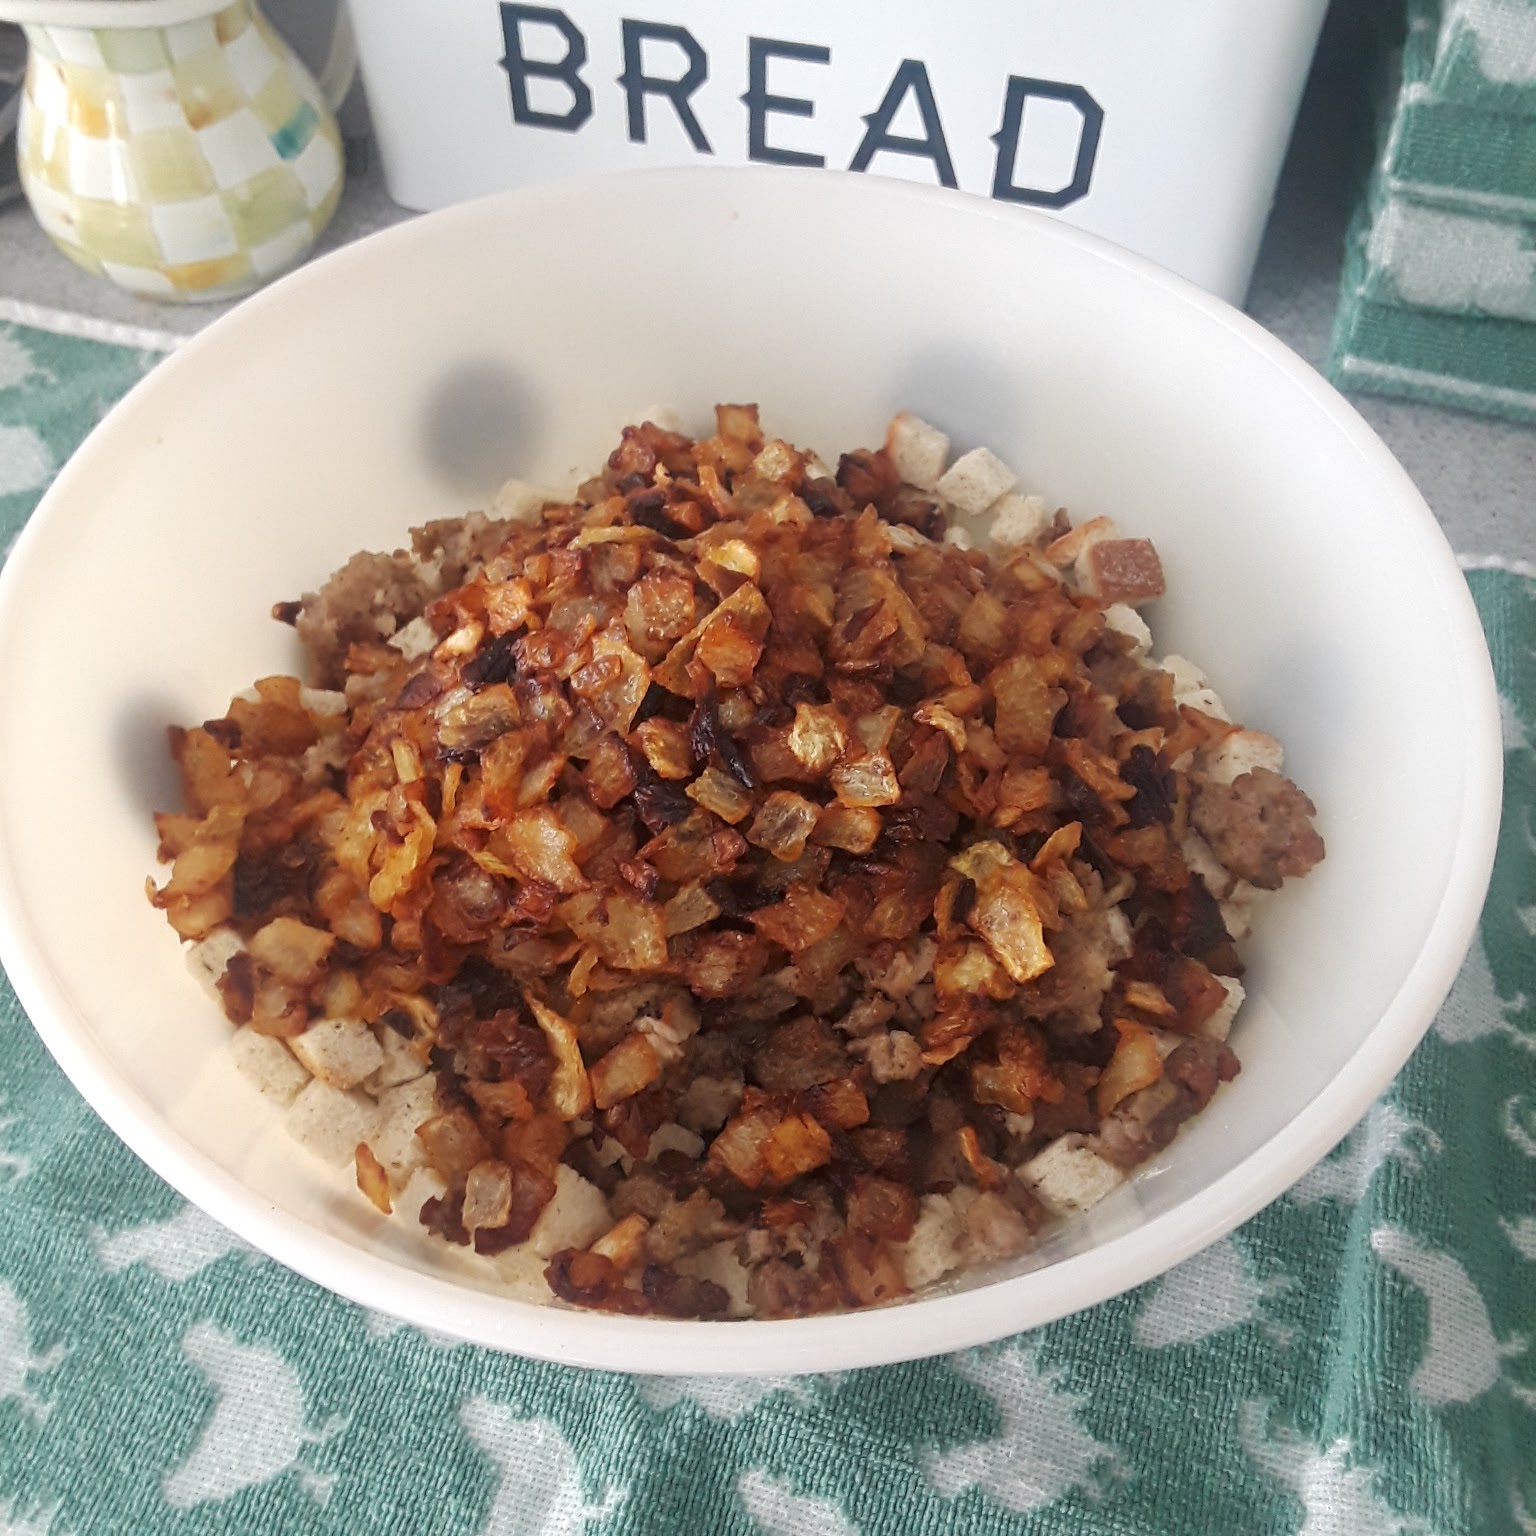
Next sautรฉ the onions in the pound of butter until golden brown.


In a separate pan fry up both tubes of Jones sausage.  Crumble it as it cooks and let cool on paper towels when done to drain excess grease.

Chop up all the chestnuts.
However course or fine as you like.  I usually do a mix.

Heat up the chicken broth.


Start adding everything except the chicken broth to your bowl of cubed stuffing. 
It doesn’t matter if things aren’t hot.  The only thing you definitely need hot is your chicken broth.  The heat will help everything ‘mush’ together and dissolve the stuffing cubes.


Once all the ingredients are added in the bowl you can start adding the hot chicken broth.  Keep adding the hot chicken broth and mixing everything together until you get the consistency that you like.  You may not need all 10 cups of chicken broth but I always like to have enough.


Pin it ๐Ÿ“Œ 

Now you’ll take your stuffing and place it all in a roasting pan.  Cover tightly and pierce some venting holes in the tin foil. Place in refrigerator.

If you’re making this the same day you plan on serving it then skip putting it in the fridge and follow the directions below.


You’re pretty much done except for heating it up and getting it a little golden brown on top.

I always make this the day before Thanksgiving and then just have to heat it up.

Thanksgiving morning I try to remember to take the stuffing out of the refrigerator about 1/2 hr before I need it to go in the oven.

Place in oven still covered with tinfoil for approximately 45 minutes at 350 degrees.

After 45 minutes remove tinfoil.  Stir mixture around.  Put back in oven uncovered for approximately 30 minutes or until golden brown on top.  You can raise the temp of the oven to 400 degrees if you like it really nicely browned.


Happy Thanksgiving 
๐Ÿฆƒ๐Ÿงก๐Ÿฆƒ๐Ÿงก๐Ÿฆƒ๐Ÿงก๐Ÿฆƒ๐Ÿงก๐Ÿฆƒ

Enjoy!!!

Follow me on Instagram 

Biala Approved ๐Ÿ‘

xoxo ๐Ÿ˜˜ 


Thursday, March 25, 2021

Dash Egg Cooker. Everything you need to know

Dash Everyday Egg Cooker ๐Ÿฅš


๐Ÿฃ๐Ÿฅš๐Ÿฃ๐Ÿฅš๐Ÿฃ๐Ÿฅš๐Ÿฃ๐Ÿฅš๐Ÿฃ๐Ÿฅš๐Ÿฃ๐Ÿฅš๐Ÿฃ๐Ÿฅš๐Ÿฃ


So do you really need another gadget taking up space in your kitchen?  I was on the fence for awhile.  I kept going back and forth.  The positives were:  I love all the Dash products I own already so I had confidence that the product would work and wasn’t just a piece of junk.  I absolutely love the look of the Dash Products especially the mint green.  I’ve been trying to eat healthier and love having hard boiled eggs in the fridge for a quick healthy snack.  Lately the hard boiled eggs that I was boiling on the stove have been ending up not so great.  The eggs were coming out sunken on one end.  They were also coming out overcooked, with the yolks having a grayish coloring and the worse part was the shells were sticking like crazy.  

The negatives were like I mentioned earlier do I really need another gadget taking up space.  So I debated but after making one last batch of hard- boiled eggs on the stove that I basically destroyed trying to get the shells off of, I decided to purchase the The Dash Egg Cooker and give it a try.


  And boy am I happy I did!!!

I purchased mine from target for $14.99

Lowest sale ever, just $12.74

First thing you’ll notice when you get it home is just how darn cute it is.  It’s nice and small and all the accessories store nicely inside of it.  It takes up hardly any space in your cupboard or because it’s so cute you can keep it out on your countertop.

First thing i did upon receiving it was to quickly rinse the plastic trays and read through the instruction pamphlet.  Nothing to complicated and they give you a quick start pamphlet that points out the basics to get started.

So grab your eggs and let’s get started!!!

๐Ÿฅš๐Ÿฅš๐Ÿฅš๐Ÿฅš๐Ÿฅš๐Ÿฅš๐Ÿฅš๐Ÿฅš๐Ÿฅš๐Ÿฅš๐Ÿฅš๐Ÿฅš๐Ÿฅš๐Ÿฅš๐Ÿฅš

Here’s a look at what you’ll get!!!

To make hard boiled eggs:

Gather your eggs.  Next your going to take the measuring cup that comes with the unit and you’ll notice that there is a pin at the bottom of the cup.  Take each egg one at a time and pierce the larger end of the egg with the attached pin at the bottom of the measuring cup.


This is probably the hardest part the first time you use your egg cooker.  I was convinced I was going to crack the egg all over myself.  But this little gadget really works great, just go slow and steady and you’ll pierce each egg in just a few seconds!!!

Then using the measuring cup pour the appropriate amount of water into the heating plate.  Depending on how many eggs your cooking and whether you want soft, medium or hard boiled will determine how much water you will need to add.  The measurement chart for how much water to add can easily be found in your instruction pamphlet.


Next place the boiling tray on the heating plate with the handles facing upward.  Place your eggs in the spots on the boiling tray.  Make sure that the end of the egg with the hole in it is pointed upwards.


Cover with the lid (Do not lock the lid, just place on top) and press start!
No need to set any timers, the egg cooker has a built in timer that will automatically go off with a nice loud musical chime.


Take your eggs out using the boiling tray handles and run eggs under cold water for a few minutes or until eggs are cool enough to handle.


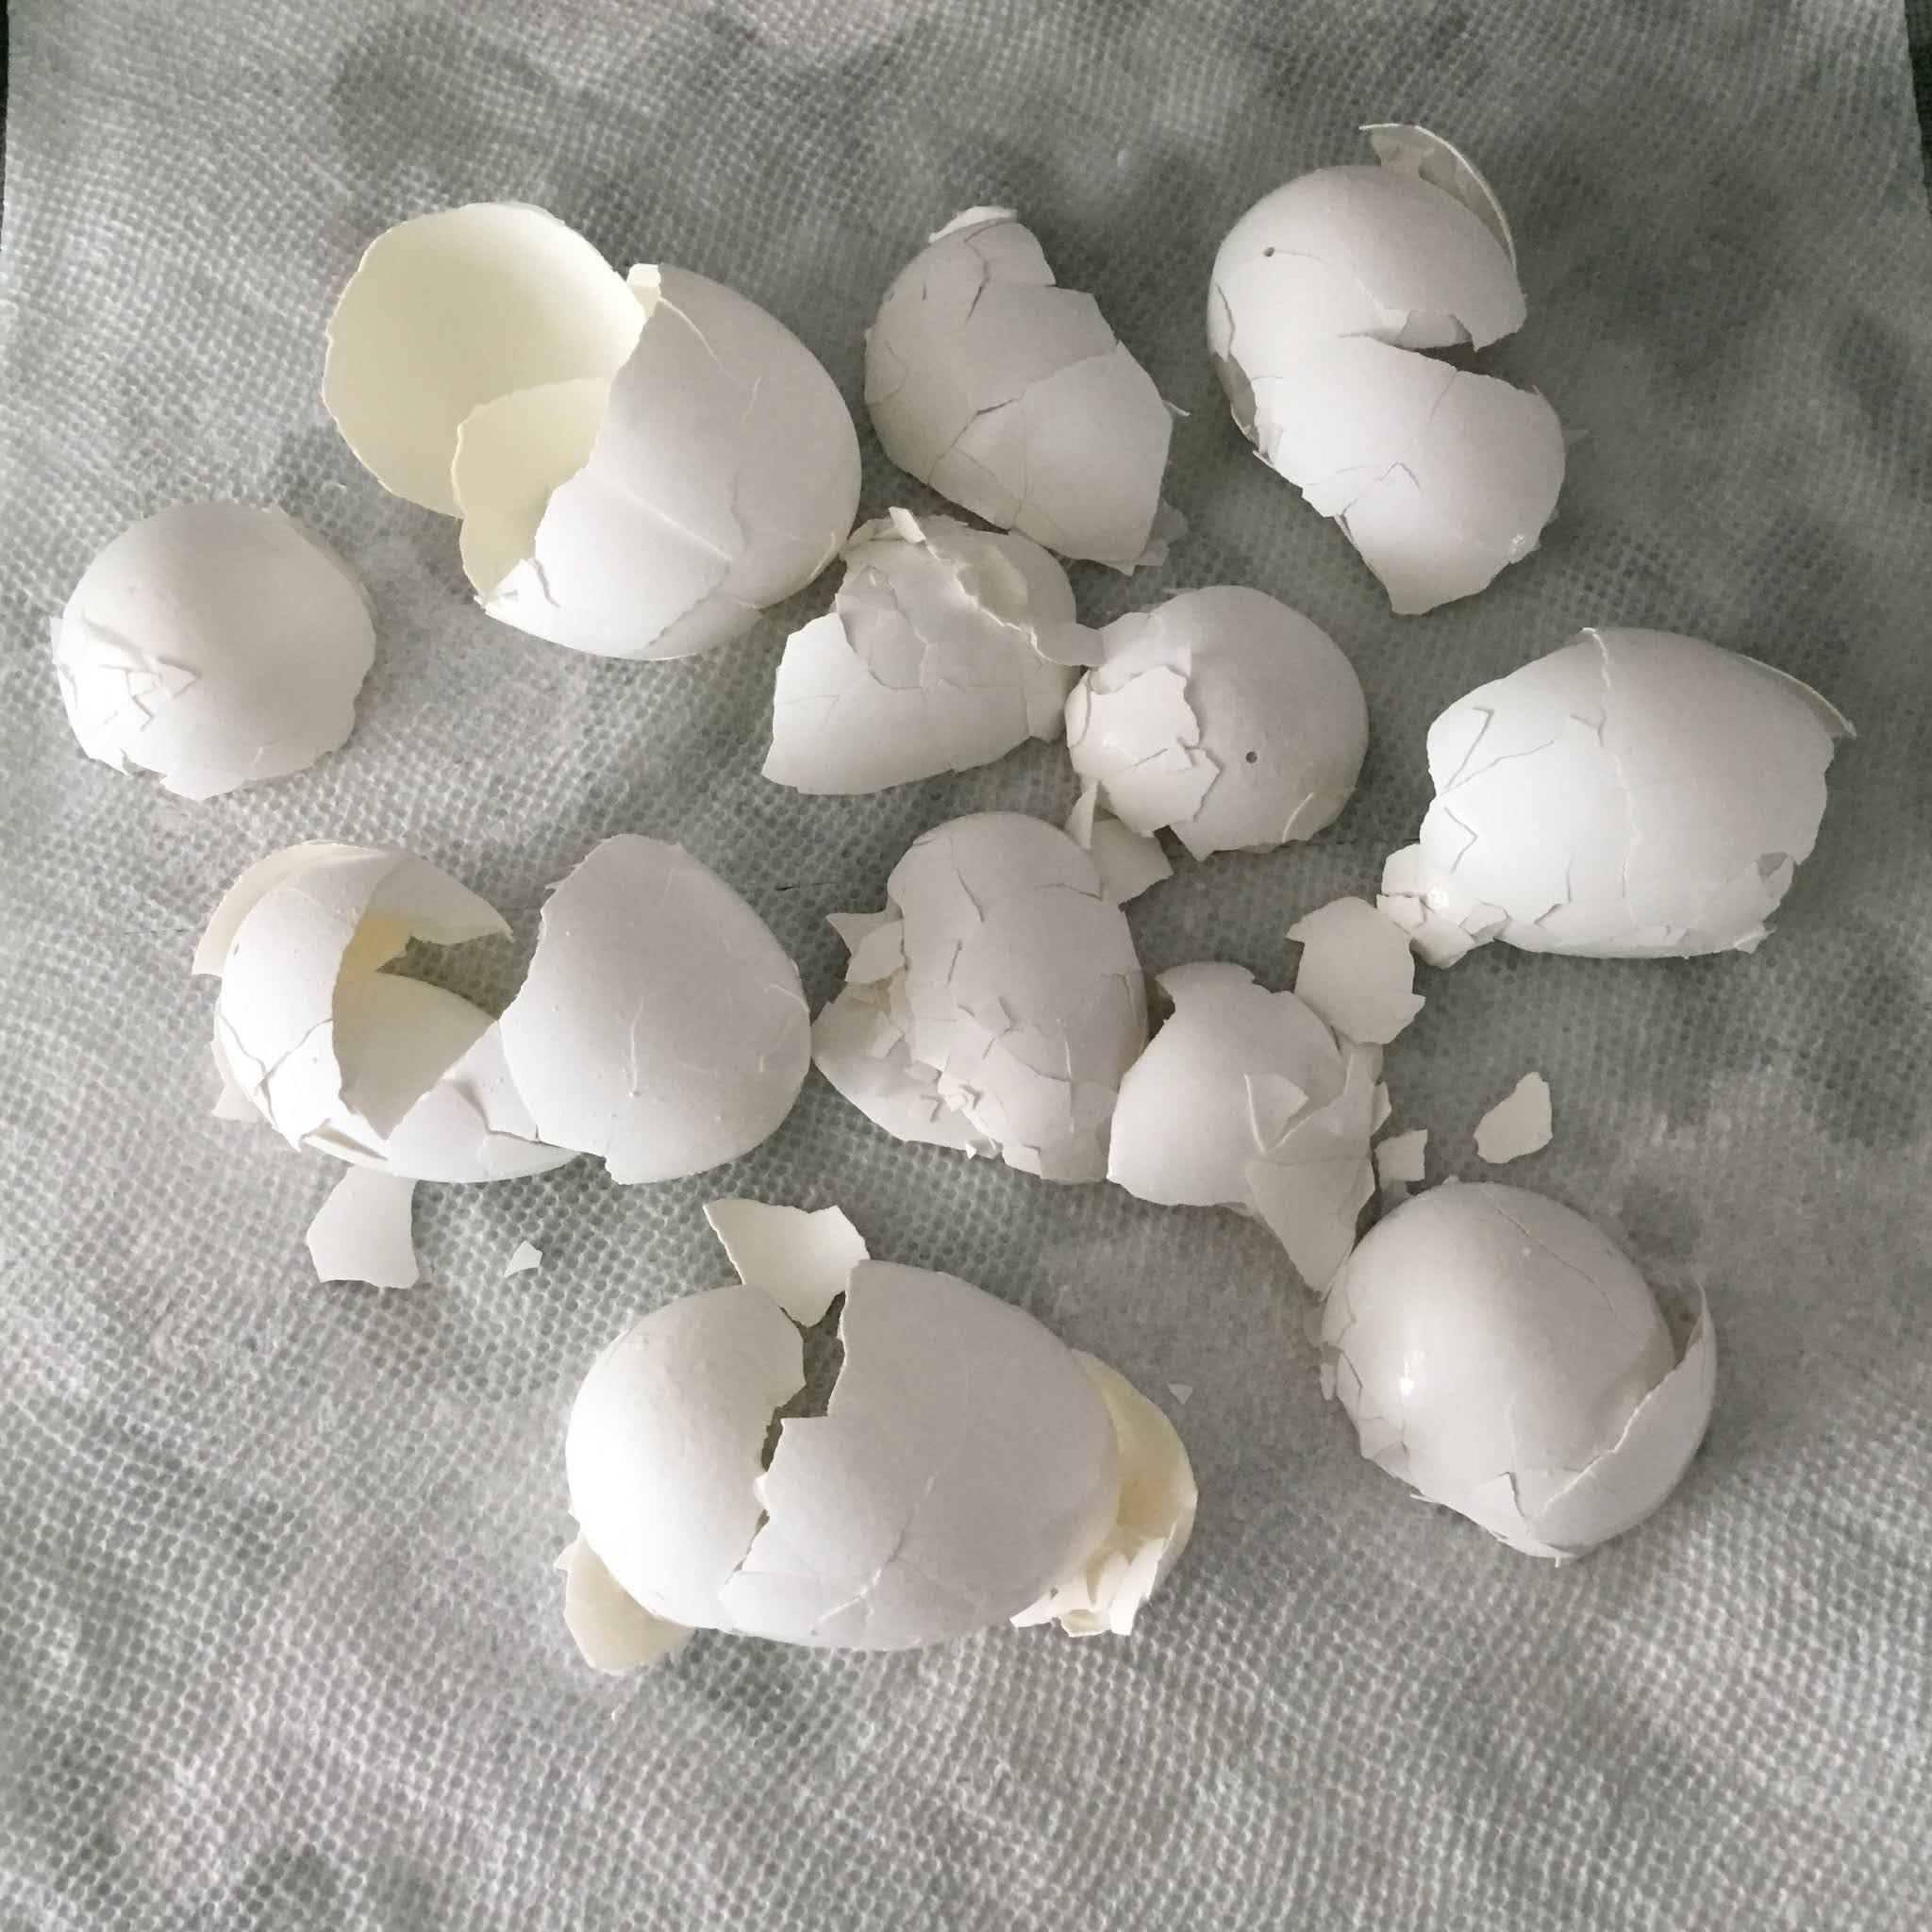
Then simply smash, roll and peel!
 It seriously took me less then a minute to peel all 7 eggs!!!


And that’s it!!!  
Add a dash of salt and enjoy your perfectly cooked hard boiled eggs!!!


The unit also comes with a poaching tray and omelette bowl to make the perfect poached eggs and yummiest and easiest omelettes.

I’m so happy I bought this little egg cooker!!!


Thanks so much for visiting!!!

๐Ÿฃ๐Ÿฅš๐Ÿฃ๐Ÿฅš๐Ÿฃ๐Ÿฅš๐Ÿฃ๐Ÿฅš๐Ÿฃ๐Ÿฅš๐Ÿฃ๐Ÿฅš๐Ÿฃ๐Ÿฅš๐Ÿฃ

Biala Approved!!!


Click here  to checkout my Instagram 
Biala_bean


Sunday, February 21, 2021

FINALLY CLEAN YOUR GROUT!

How to clean grout
1-2-3 Clean Your Grout!
#cleantok
 
The BEST Grout Cleaner 


So are you ready to FINALLY get your tile floors and grout lines cleaned?  I have tried a few different products over the years, ranging from homemade mixes that I found on the internet to expensive grout cleaners.  All of them worked a little bit, but I always found something I didn't like about them.  Some were very expensive and you needed several bottles to complete one floor, some had a very strong odor, and others required a lot of time and scrubbing.  In the end, I always wound up only completing a small section of the floor before I got totally bored.  One day, while desperate to clean my shower and having nothing on hand I thought i try the only cleaner I had in the house; Clorox toilet bowl cleaner with bleach.  Too my surprise it worked quite well on the shower and gave it an instant cleaning.  I then started to think "well, what else can this stuff clean".  I immediately thought of the dirty grout lines on my tile floor in the kitchen.  I tested it on a small section and couldn't believe how fast and easy it cleaned the disgusting grout lines in my kitchen.
So I decided I would finally commit to cleaning the kitchen floor!

 
So began the 1-2-3 Grout Challenge!
 
1 product, less then 2 hrs and a total cost of under 3 dollars!!!
 
So gather your supplies and lets begin!
 
 
There really is no trick to doing this.  I simply took my Clorox cleaner (its a gel, so it poured perfectly into the grout lines) and started to pour the cleaner onto about a 3 foot by 3 foot section of tile floor.  I then let the gel cleaner sit on the grout lines for approximately 10 minutes.  I then took my hard plastic bristle brush and lightly scrubbed the cleaner into the grout lines.  I found that it really didn't take a lot of effort, the cleaner really did most of the work.  I then let the scrubbed in cleaner sit for approximately another 5 minutes.  Next I took a wet mop and cleaned up the cleaner.  I then moved onto the next section and repeated the above steps.  The only warning I would give is to say be very careful while walking on the floor until you mop up the solution.  The floor will be very slippery!  I was scared at first thinking that the floor was going to stay slippery, but once I mopped the whole floor when I was done and it dried the floor was perfectly fine.  The original color of my kitchen grout lines were a very light sanded gray.  I also did my bathroom tile which has bright white sanded grout lines (I wish I took before and after pics because the difference in there was unbelievable).  Sorry I do not have dark grout lines anywhere in my house, so I cannot tell you how the Clorox cleaner will work on those.
 
So that's really it.  One bottle of Clorox gel cleaner, one plastic hard bristle brush and a couple of hours and you will have professionally cleaned tile floor and grout lines!
 
Even though my kitchen floors get mopped every day, the grout lines were just disgusting.  This kitchen floor is about 15 years old and this is the first time I really cleaned the grout lines.  It's hard to believe looking at these pictures that the grout lines were that dirty.  It truly looked like a new kitchen floor when I was done!


Hope you take the 1-2-3 Challenge and finally have the clean kitchen or bathroom floors that you always dreamed of having!
 
GOOD LUCK!!!


Thanks so much for visiting!!!


To Checkout my Instagram  


xoxo Biala


LinkWithin

Related Posts Plugin for WordPress, Blogger...