Faux outdoor mums.

If you’re like me then nothing beats the arrival of Autumn. The air is cooler, the leaves are changing, pumpkin spice is everywhere and the mums are in full bloom. But if you’re also like me you don’t exactly have a green thumb. Each Autumn I would spend a small fortune buying lots of pretty mum plants only to be constantly disappointed by what they looked like after just a few weeks. Then one day while watching QVC I was so intrigued by what I saw on the screen. Beautiful mums from Wicker Park that were not only faux but were also outdoor safe! I was hesitant at first because I thought the price was pretty high and in reading the reviews I did notice that there were a fair share of negative comments regarding the flowers. The first year I saw them I ended up not buying them but I kept thinking about them and knew the following year I would take a chance and order a set. Well, let’s just say I liked them so much that I think I now have over 20 sets (besides the mums I also bought a bunch of the Bougainvilleas)
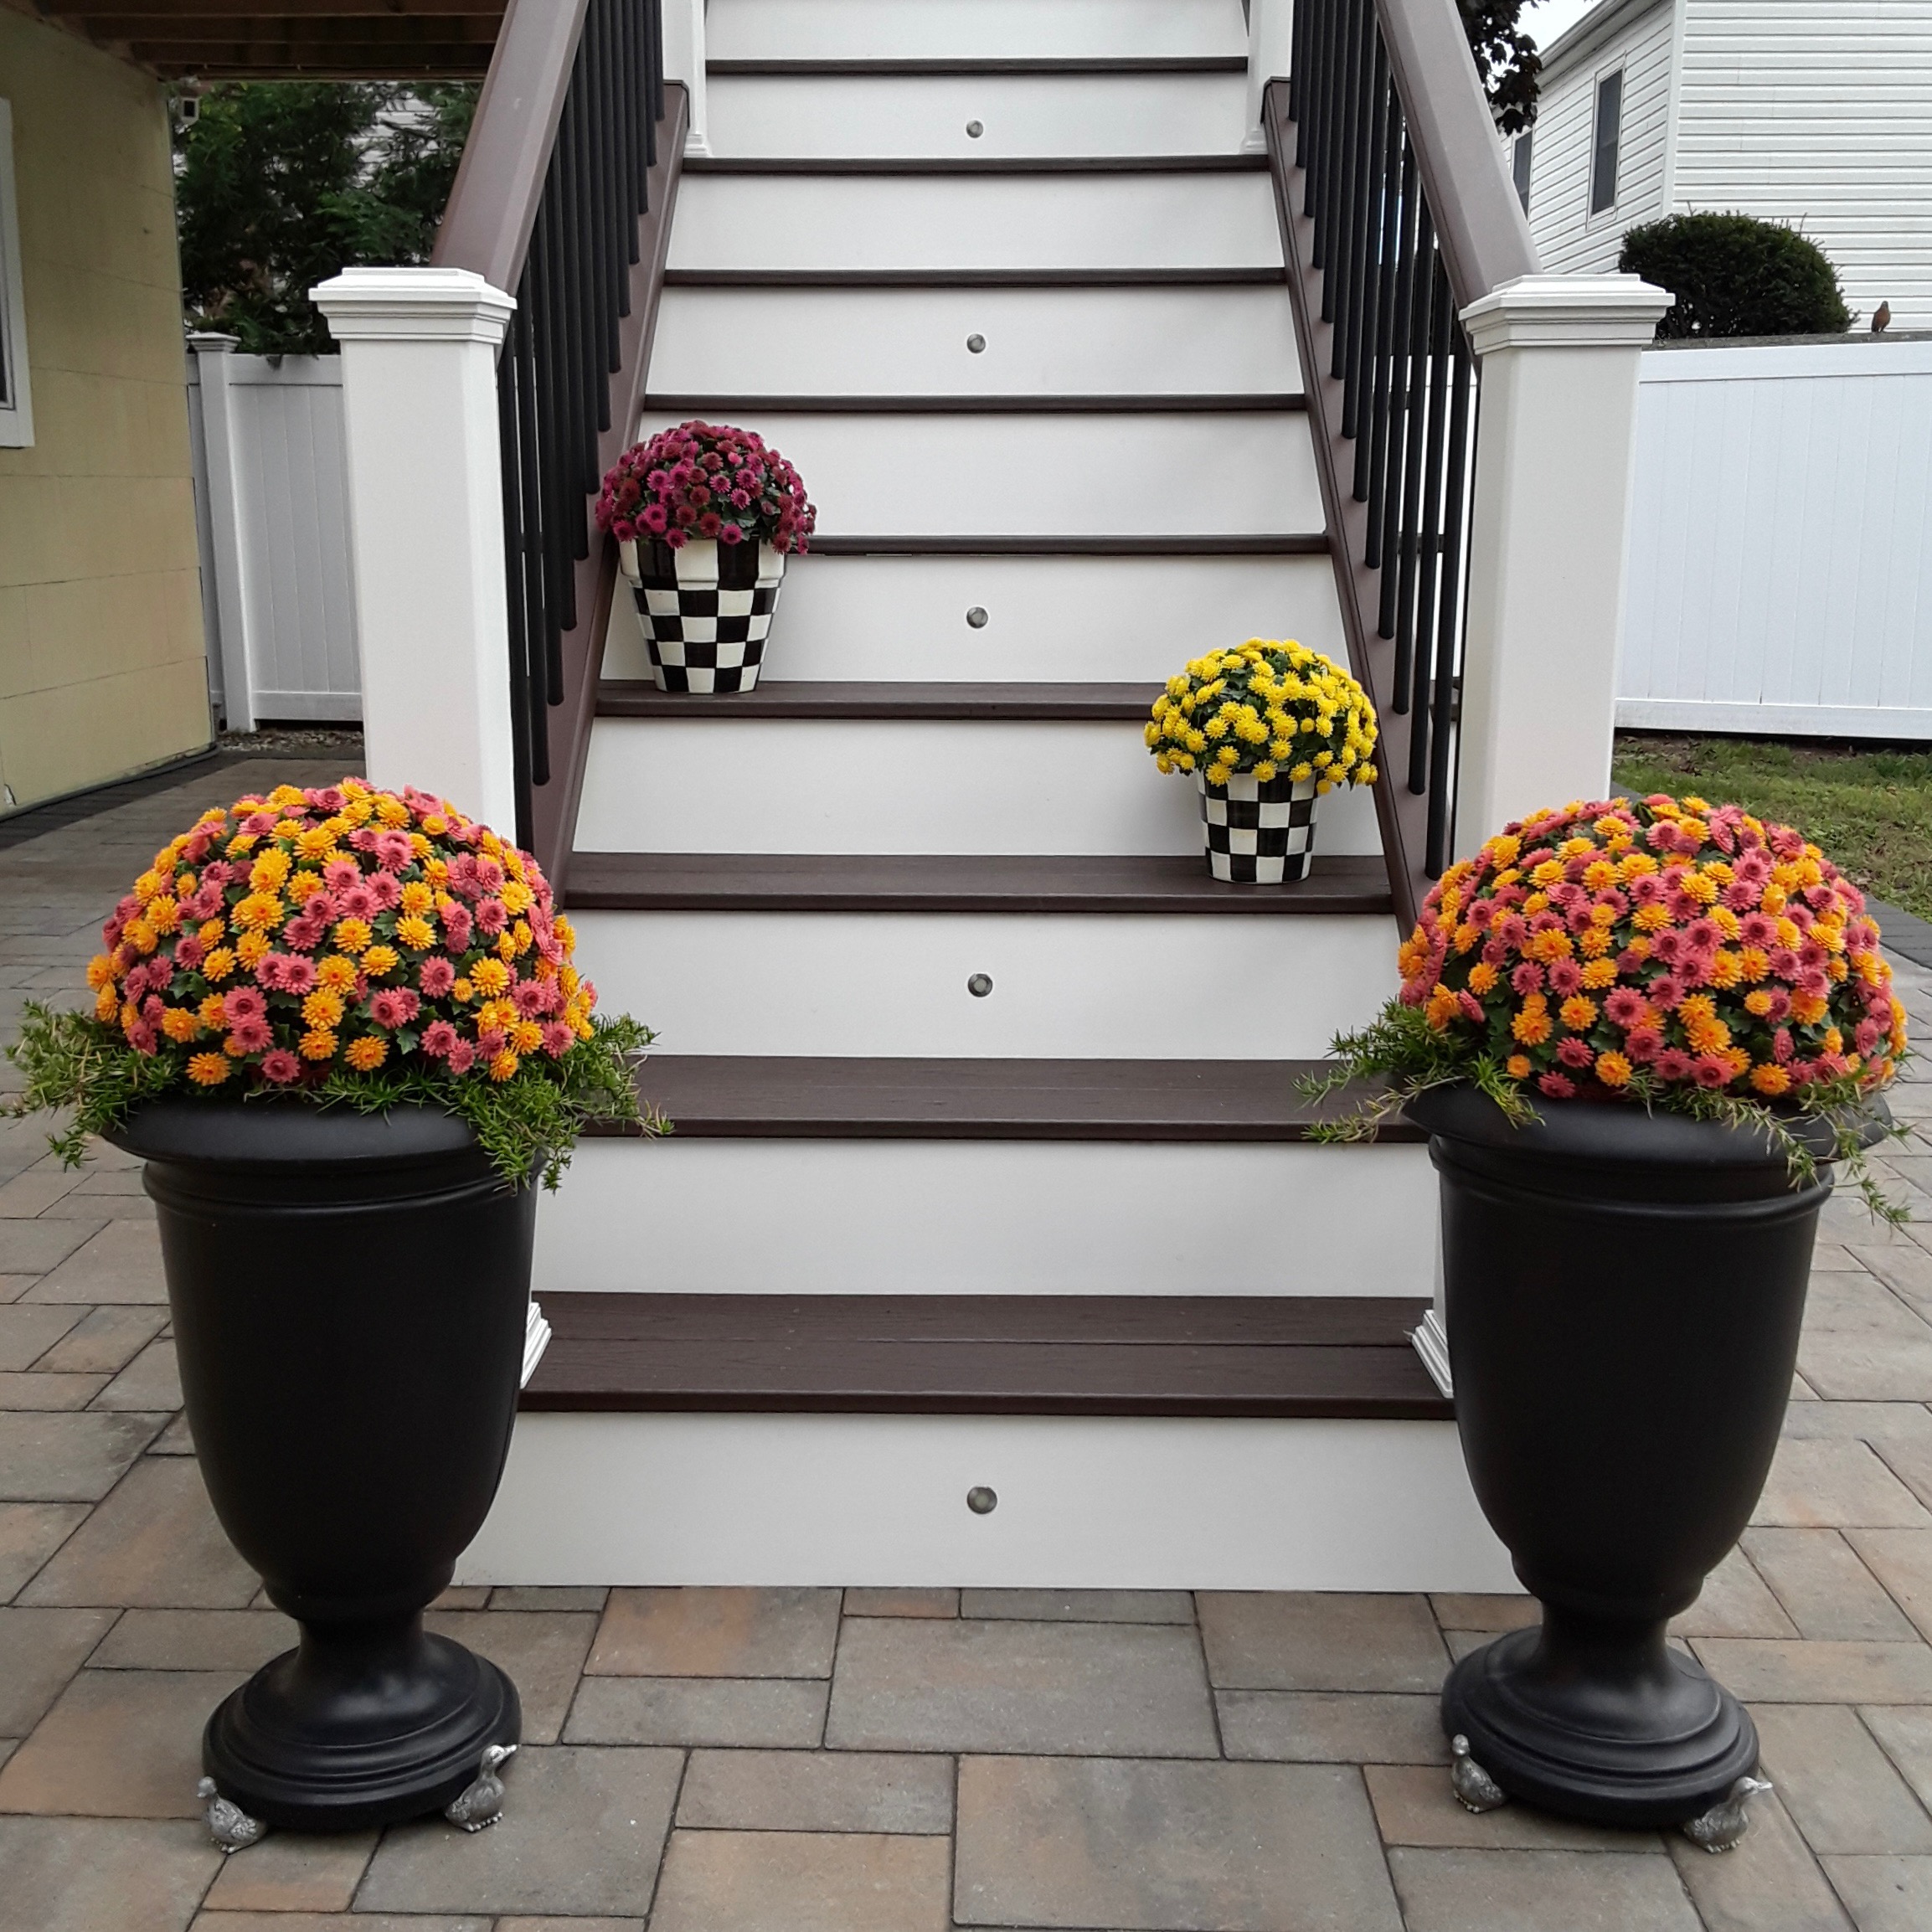
So do they look fake? Well, yes and no. Up close, yes you will know that they’re fake but from a distance you can definitely fool your neighbors. I think you have to find the right balance of where you place them. Don’t go completely overboard with them and do try to mix them in with some real plants and they will be a very attractive addition in your yard. Also don’t just plop them in a container. You will need to create the illusion that they are real. So make sure to fill the container with dirt and ‘plant’ the mums as you would with real ones.
If you want to get extra creative with them you can mix the colors together and create your own stunning displays. You’ll need to buy a few sets of mums in a mix of colors. You’ll then just remove the flowers from the mum spheres. The flowers pop off relatively easy and within just a few minutes you can mix the flowers to create those multi-mix combos of mums you find at the garden centers.
Pin it 📌
Wicker Park Faux Mums
To create this fun Autumn mix just pop off all the flowers and separate into little piles
Once you remove all the flowers then simply start adding them back on and create a multicolor creation.
You can use images from the internet or snap pics at your local garden center for inspiration.
In case you didn’t know each Wicker Park sphere from QVC easily separates into 2 halves. I really thought when I bought them that I would prefer them as a whole sphere. However once I got them home and started playing around with them I discovered that I really prefer the way they look separated in half better. This is an added bonus because you end up with twice as many Wicker Park faux plants.
Of course pretty planters help make them that much more attractive.
Another way to display these pretty Wicker Park faux mums and an added bonus to extend the time you can display them outside is to remove all the flowers. This way you can display the evergreen spheres in the winter. And the biggest benefit I’ve found for doing this is that they serve as the perfect protector for your Spring bulbs! Just plant your bulbs and cover the top of the pot with half a sphere. You’ll have an attractive evergreen sphere to display all winter AND you’ll keep those pesky squirrels from feasting on your bulbs.
In conclusion, I really do recommend these Wicker Park Faux mums. They work great for areas that are challenging to grow real flowers, overtime they will save you money since you won’t be buying real flowers each year, they hold up extremely well, you don’t have to waste time or money watering them, they protect your bulbs over winter and most importantly they allow us all to have a green thumb 👍
…
Shop for Wicker Park faux mums and other great faux plants at QVC.
Be sure to follow the adventures of Biala Bean on Instagram
Thanks so much for stopping by.
xoxo 😘