
How to clean grout
1-2-3 Clean Your Grout!

1-2-3 Clean Your Grout!

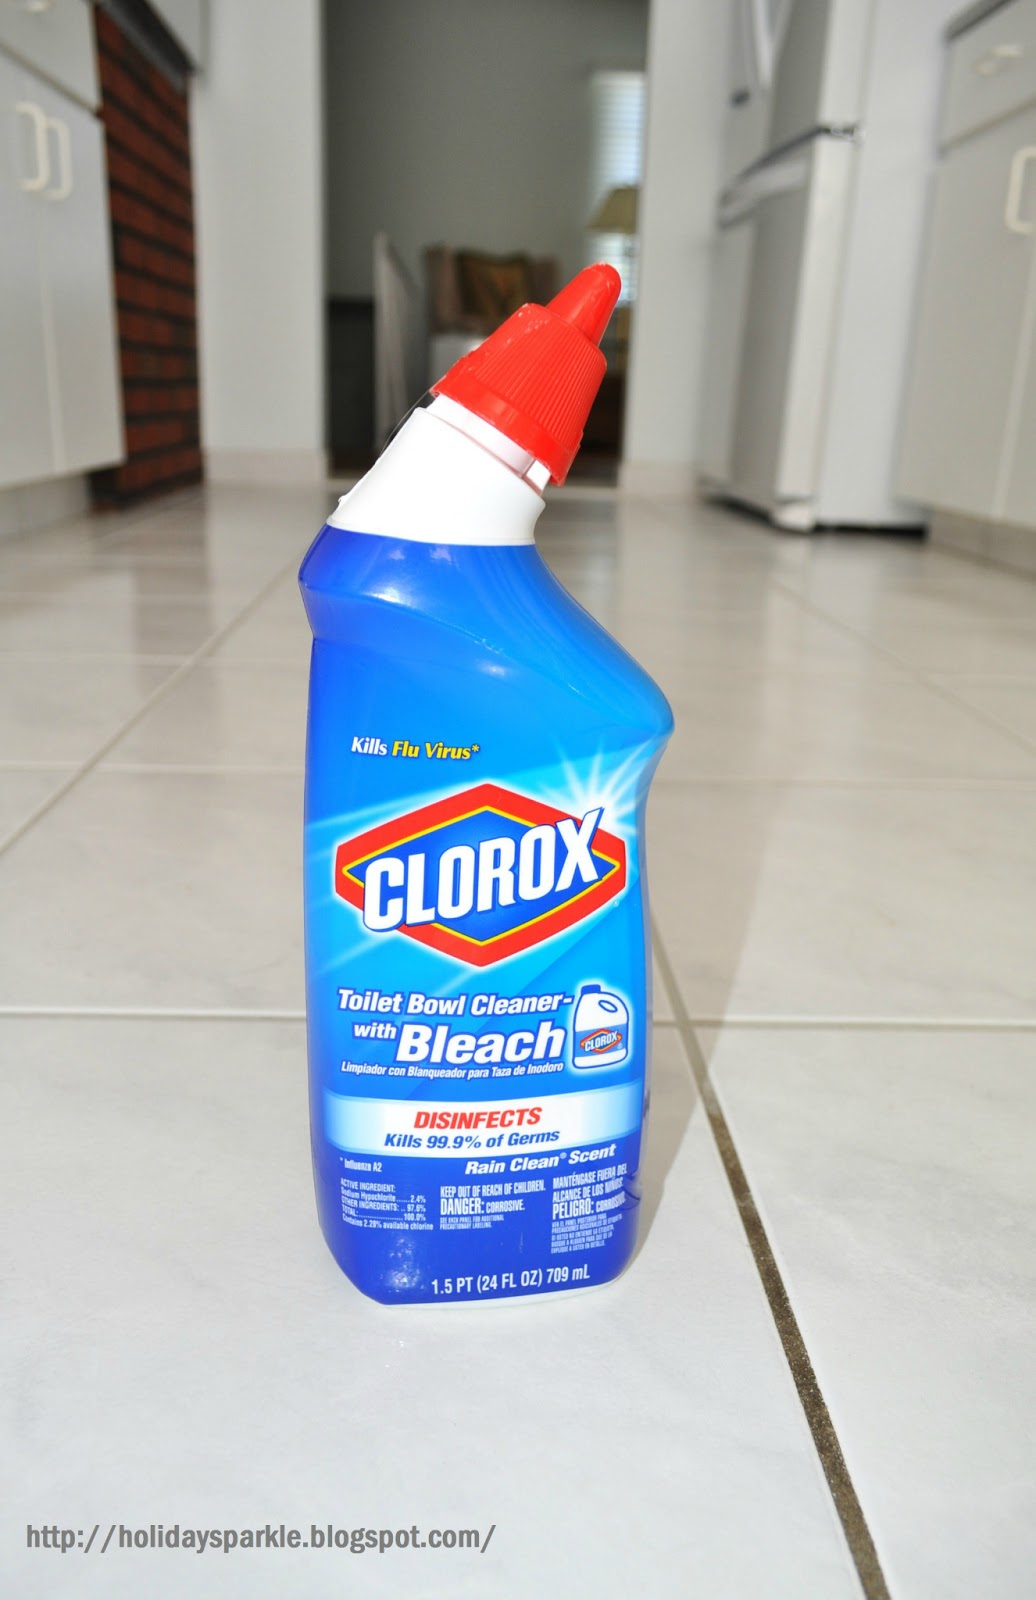
The BEST Grout Cleaner
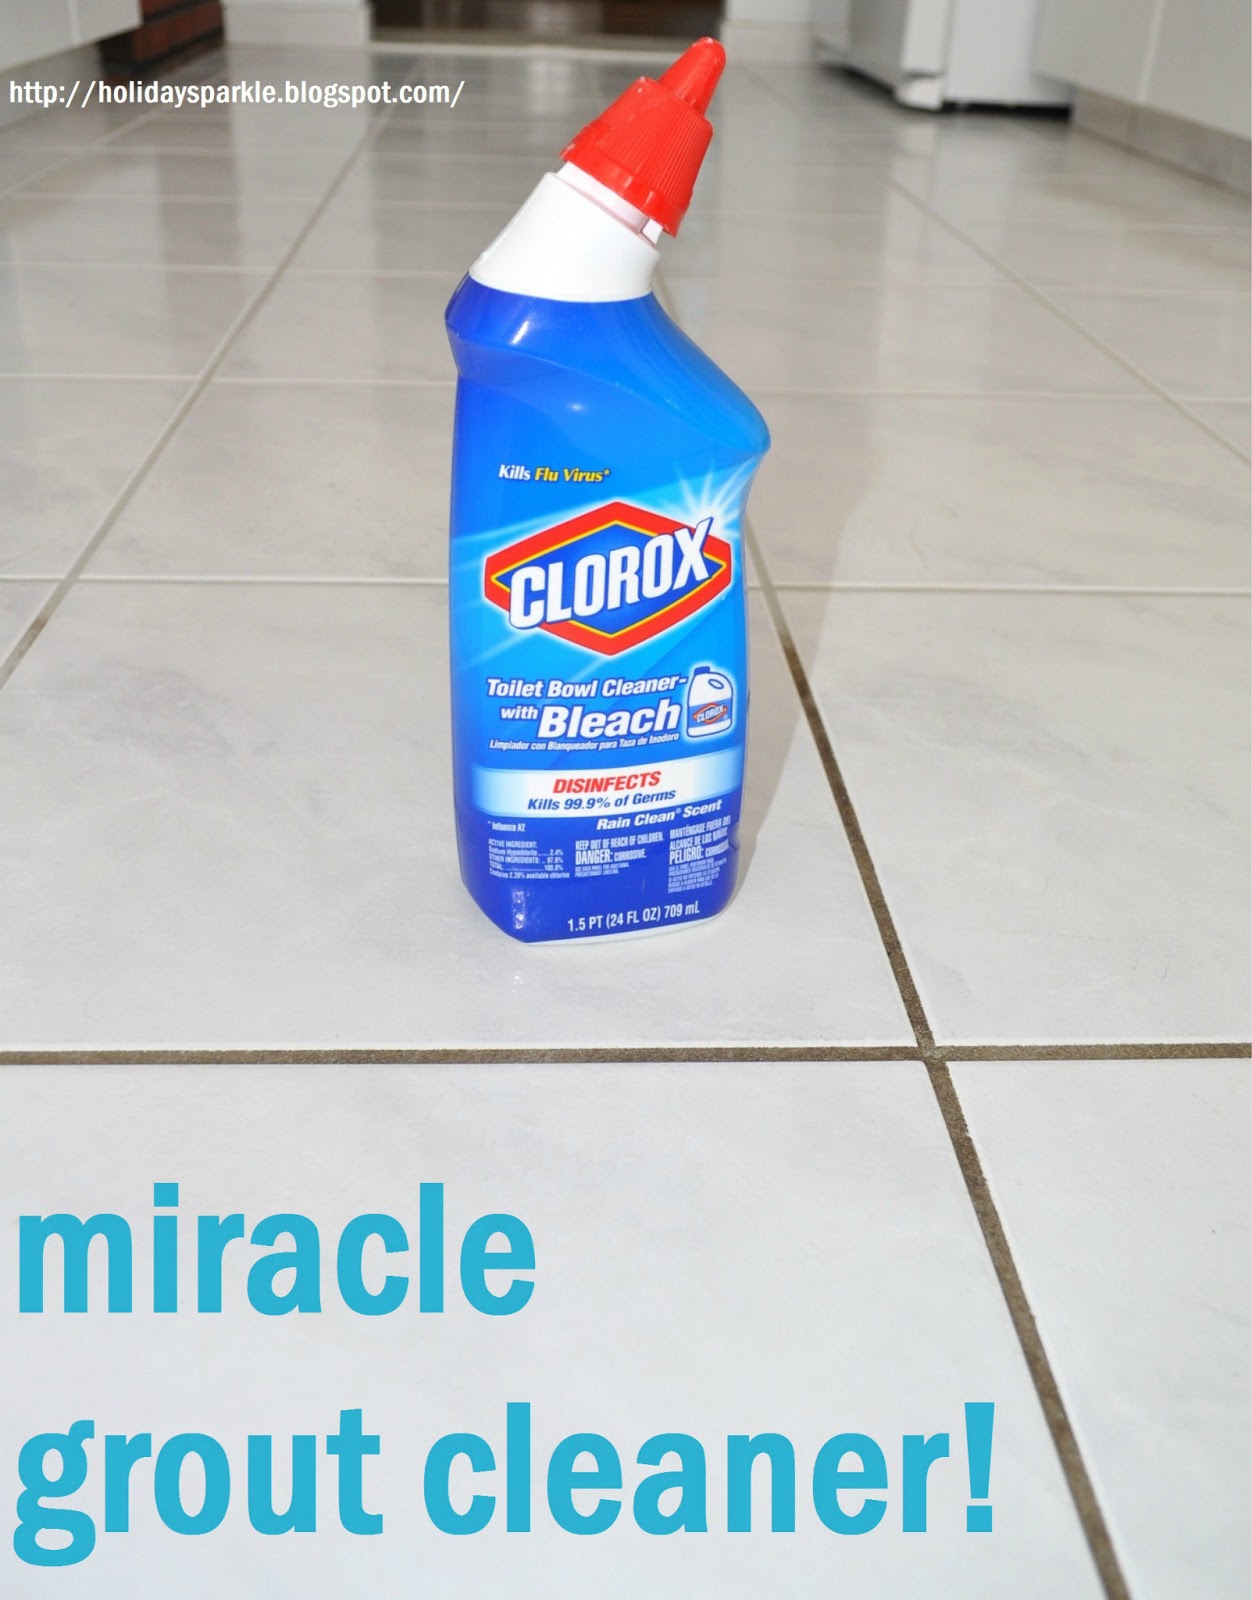
So are you ready to FINALLY get your tile floors and grout lines cleaned? I have tried a few different products over the years, ranging from homemade mixes that I found on the internet to expensive grout cleaners. All of them worked a little bit, but I always found something I didn't like about them. Some were very expensive and you needed several bottles to complete one floor, some had a very strong odor, and others required a lot of time and scrubbing. In the end, I always wound up only completing a small section of the floor before I got totally bored. One day, while desperate to clean my shower and having nothing on hand I thought i try the only cleaner I had in the house; Clorox toilet bowl cleaner with bleach. Too my surprise it worked quite well on the shower and gave it an instant cleaning. I then started to think "well, what else can this stuff clean". I immediately thought of the dirty grout lines on my tile floor in the kitchen. I tested it on a small section and couldn't believe how fast and easy it cleaned the disgusting grout lines in my kitchen.
So I decided I would finally commit to cleaning the kitchen floor!
So began the 1-2-3 Grout Challenge!
1 product, less then 2 hrs and a total cost of under 3 dollars!!!
So gather your supplies and lets begin!
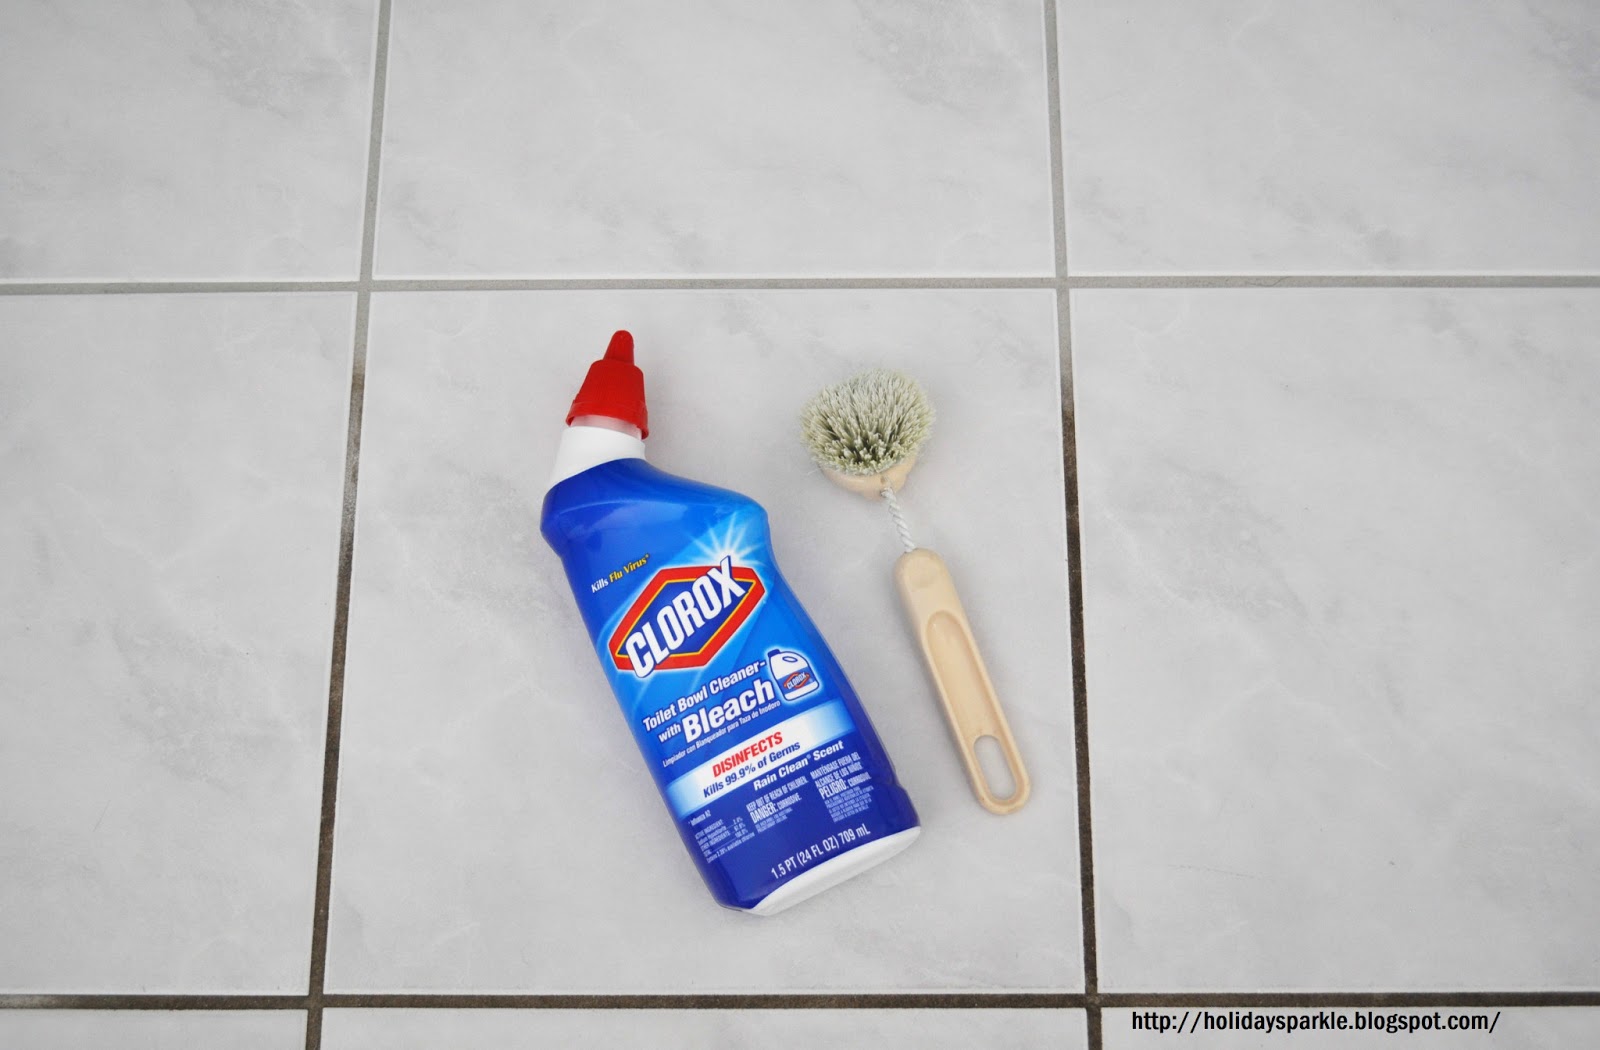
There really is no trick to doing this. I simply took my Clorox cleaner (its a gel, so it poured perfectly into the grout lines) and started to pour the cleaner onto about a 3 foot by 3 foot section of tile floor. I then let the gel cleaner sit on the grout lines for approximately 10 minutes. I then took my hard plastic bristol brush and lightly scrubbed the cleaner into the grout lines. I found that it really didn't take a lot of effort, the cleaner really did most of the work. I then let the scrubbed in cleaner sit for approximately another 5 minutes. Next I took a wet mop and cleaned up the cleaner. I then moved onto the next section and repeated the above steps. The only warning I would give is to say be very careful while walking on the floor until you mop up the solution. The floor will be very slippery! I was scared at first thinking that the floor was going to stay slippery, but once I mopped the whole floor when I was done and it dried the floor was perfectly fine. The original color of my kitchen grout lines were a very light sanded gray. I also did my bathroom tile which has bright white sanded grout lines (I wish I took before and after pics because the difference in there was unbelievable). Sorry I do not have dark grout lines anywhere in my house, so I cannot tell you how the Clorox cleaner will work on those.
So thats really it. One bottle of Clorox gel cleaner, one plastic hard bristol brush and a couple of hours and you will have professionally cleaned tile floor and grout lines!
Even though my kitchen floors get mopped every day, the grout lines were just disgusting. This kitchen floor is about 15 years old and this is the first time I really cleaned the grout lines. It's hard to believe looking at these pictures that the grout lines were that dirty. It truly looked like a new kitchen floor when I was done!


Hope you take the 1-2-3 Challenge and finally have the clean kitchen or bathroom floors that you always dreamed of!!!
GOOD LUCK!!!

I first saw this on Pinterest about a year ago and was determined to give it a try. Unfortunately whenever I looked at the 1st day challenge of doing a self portrait I would quickly say 'never mind'. If your like me you hate pictures of yourself. But I finally decided that I was being silly and I started the challenge. If you want to check out my pics you can find them here on my Pinterest Board Come join me in the challenge, I would love to see your pics!!!
21 Day Organization Challenge!


Time to ring in another year. I swear every year that this is the year I finally organize my house. By the end of each year, I realize that I have only managed to become more disorganized. The few areas of my house that are organized are because I spent a little time getting them in order and now each time I use something in that area I find it very easy to put it back in its place. I also find I get nothing done when the task seems too large. I need to just do a little at a time.
So ladies, I came up with a simple 21 day challenge of easy organization tasks, that when completed will give us all the organized home we dream of.
I started us off with some simple and quick organization chores so that we don't feel overwhelmed. I figured we could knock off some easy ones like the medicine cabinet or our handbag before we got to the really involved ones like the garage or if your a crafter like me, the craft supplies.
So ladies, lets get our organization checklist ready and lets plan on starting our challenge the 1st week of January. The challenge is only 21 days so even if we put off starting until after the 1st week we can still have an organized home by the end of January!
Good luck and I would love to hear how your challenge is going!!!
 CLICK THE ABOVE IMAGE FOR YOUR FREE PRINTABLE CHECKLIST!
If your doing the challenge, be a dear and follow me and let me know how your doing with it. I will be happy to add a link to your blog for others to see how well your doing with the challenge!
Check out sweetdeals4moms to see her Fabulous blog and her take on the challenge!!!


If your doing the challenge, be a dear and follow me and let me know how your doing with it. I will be happy to add a link to your blog for others to see how well your doing with the challenge!
Check out sweetdeals4moms to see her Fabulous blog and her take on the challenge!!!
COME JOIN THE FUN!!!
If your a pinterest addict like me, then I invite you to come join in on the Fun! I've created a new group board, which has grown to over 2000 followers in just 2 days!!! I'm trying to create one great board where we can all come together and pin all of our favorites. If you have a blog yourself, this is a great way to get exposure and to gain new followers! Together we can make this the best place to pin all of our prettiest DIY, crafts, recipes, home decorating, household tips and eye candy pins! If your interested in growing our blogs together and gaining exposure and followers, then be sure to click HERE to start following and pinning all your BEST pins to the Holiday Sparkle Favorites board on Pinterest!

HAPPY PINNING!
I feel like this blog post should be titled
'abracadabra'
When I first heard about this, I assumed it was just a gag, or you needed to buy some crazy expensive gadget that probably didn't even work. Oh yeah like you can really peel a whole head of garlic in under 30 seconds. Oh and did I mention that you will be doing this without a knife or any gadgets!
Seems to good to be true, but 'abracadabra' it really works!
1st take your head of garlic and place on your counter top.

Next using the palm of your hand or a wooden object like a bowl or cutting board press down on the head of garlic. You don't need to injure yourself doing this, but press down with the most pressure you can.

You will then have a pile of garlic cloves and garlic skins. You simply take the whole pile (don't worry about separating anything just yet) and dump it into any container that you have that has a lid. I used an old Tupperware container. You can even just use 2 bowls and sandwich the garlic in the middle of them.

Next comes the hard work...get ready...shake the container for approximately 10 seconds.

If you managed to survive that grueling task then you are all ready to enjoy your skinned garlic gloves.
Dump everything out of the container and you will see that somehow all the skins have separated from the garlic cloves.

All you need to do is pick through the pile of skins and garlic and gather up all your pretty and perfect garlic cloves.

So that's it, simply give the head a good hard squash with your hand or back of something that won't break, put it all in a container with lid, shake as hard as you can for about 10 seconds, and just sift through the garlic skins and gather up your garlic cloves!

I hope your not to exhausted from all that, now go and roast up some garlic cloves and enjoy!!!

No comments:
Post a Comment
Please be a dear and leave a comment!